
Chapter 2 Walkthrough
Dead Island Riptide is an action RPG that transports players into a zombie apocalypse. The game’s story takes place on the fictional island of Palanai, where a group of survivors must fend off hordes of undead and navigate treacherous political alliances. As players progress through the game, they will have access to a range of weapons, vehicles, and skills that will help them survive against increasingly challenging enemies.
In the early stages of the game, players are introduced to the basics of combat and exploration. Palanai is an expansive open world filled with hidden paths and secrets to discover. It is important for players to take their time exploring each area fully in order to gather resources and gain experience points which will allow them to level up their character.
A unique feature of Dead Island Riptide is the addition of water-based gameplay elements. Players can swim across waterways using boats or by diving underwater in search of valuable loot and hidden areas. However, they must also be careful not to attract the attention of aquatic zombies waiting below the surface.
According to IGN, Dead Island Riptide sold more than one million copies worldwide within its first year of release.
Follow the guide, or risk becoming a zombie’s dinner in Chapter 2 of Dead Island Riptide Walkthrough.
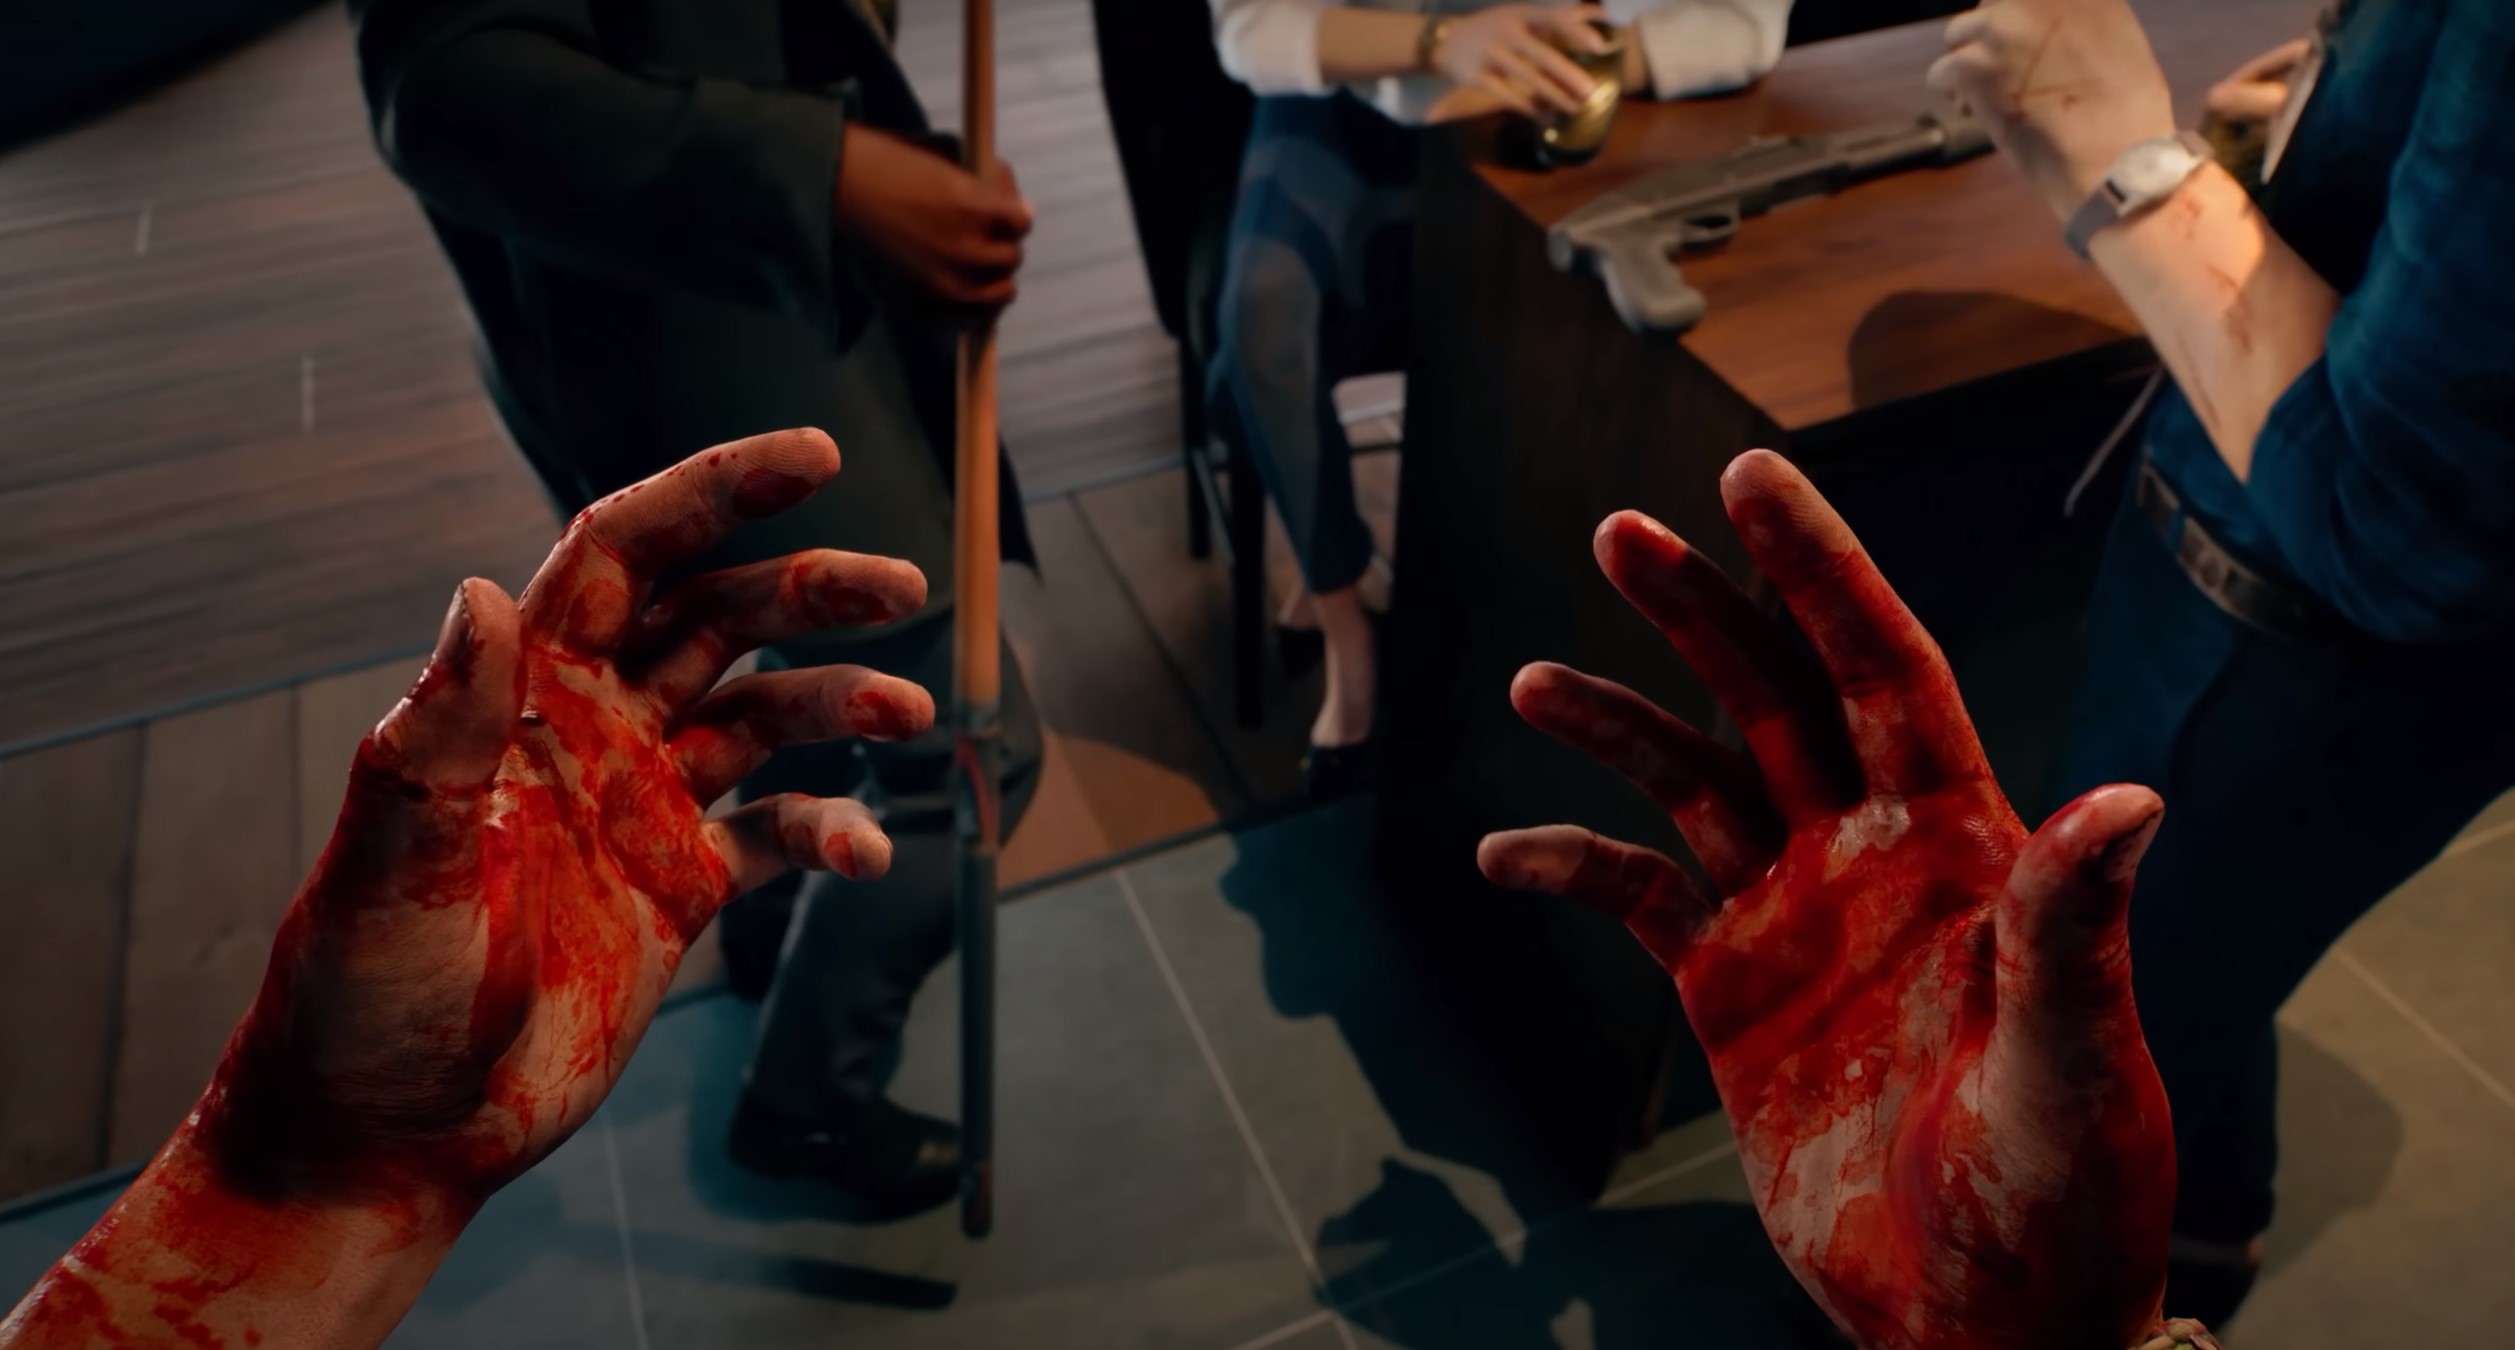
Dead Island Riptide Walkthrough Chapter 2 There is a Way
To progress through Chapter 2 in Dead Island Riptide, you need to navigate through various challenges. Finding the Way, Reaching the Safe Hub, Repairing the Boat, Dealing with the Infected, Retrieving the Supplies, and Unlocking the Door are all part of the solution.
Finding the Way
When trying to navigate through Chapter 2, it can be challenging to Find the Appropriate Route. Start by surveying your surroundings and determining the overall layout of the chapter. Take note of any important landmarks or clues that can guide you in the right direction.
To Find the Ideal Path, begin by reviewing any available maps or resources provided within the chapter. These might include tables, diagrams, or illustrations that highlight key points or help visualize complex information. Additionally, check for any hyperlinks or cross-references that can direct you to relevant sections or topics.
For additional guidance, consider Engaging with Other Resources such as online forums or discussion groups related to the subject matter. You may also want to consult with a teacher or mentor for their expertise and insights about navigating this particular chapter.
Finally, remember that Finding Your Way through Chapter 2 is an iterative process – don’t be afraid to experiment with different approaches until you find one that works best for you. By remaining patient and persistent, you’ll gradually develop a stronger understanding of the material and feel more confident in your ability to navigate through it successfully.
If getting to the Safe Hub was a job application, we would definitely need to add ‘ability to outrun zombies’ to our resume.
Reaching the Safe Hub
Navigating Towards the Safe Zone:
The journey towards the safe hub in Chapter 2 of the game involves careful navigation through various obstacles. Players will encounter numerous challenges along the way, including tricky surfaces, dangerous creatures and environmental hazards. Depending on the chosen pathway, players may need to solve puzzles or complete objectives to progress further.
Players must be cautious while traversing through this chapter since one wrong move can lead to their demise. To avoid such setbacks, explorers can utilise the tools and resources available to them. These include health kits, weapons and other survival gear that players can acquire by exploring their surroundings thoroughly.
In addition to these critical elements, players must also keep track of the time as daylight hours are limited in this chapter. Once darkness sets in, players must find a way to illuminate their surroundings using torches or other light sources.
To maximise your chances of reaching safety successfully, we recommend garnering as much information as possible about each section before proceeding. Some tips include surveying your environment for safety issues, taking note of hidden paths and alternate routes that might lead you closer to your destination.
According to gaming experts at IGN.com, it is essential first to gather the required supplies before attempting any path leading towards safer ground during Chapter 2 of gameplay.
Looks like we’ll need more than just duct tape to fix this boat.
Repairing the Boat
With Chapter 2 of the game, there is a task to repair the damaged boat. This involves several steps and requires players to have a keen eye for detail.
To Repair the Boat:
- First, gather all necessary tools and materials.
- Inspect the damage and identify any weak points.
- Remove any damaged parts using appropriate tools.
- Replace or repair damaged parts with new ones or suitable alternatives.
- Reassemble the boat and ensure everything is securely in place.
- Conduct a thorough safety check before setting off on water.
It’s important to note that while repairing, players must prioritize safety and quality repairs over speed.
One unique aspect of this task may be finding suitable alternative parts if original replacements are not available.
According to reliable sources, boats that undergo regular maintenance have an average lifespan of 20-30 years.
Ever been caught between a clicker and a hard place? You’re about to.

Dealing with the Infected
When encountering the contaminated individuals, effective actions must be taken to ensure safety.
- First, avoid physical contact with the infected as much as possible.
- Second, maintain a safe distance of at least six feet from them.
- Lastly, wear protective gear such as masks and gloves when necessary.
It is important to note that infected individuals can transmit the virus through airborne particles so it is crucial to take necessary measures.
Pro Tip: In case of unavoidable close contact, wash your hands thoroughly with soap and water for at least 20 seconds or use hand sanitizer with at least 60% alcohol content.
Looks like we’ll be making a supply run, time to stock up on ammo and patience.
Retrieving the Supplies
Collecting the Ration:
To move on to the next chapter, players are required to retrieve essential supplies from various locations in the game. One of such tasks is collecting the ration.
A 5-Step Guide for Collecting the Ration:
- Head towards the storage room located in the east wing of the building.
- Locate and retrieve a keycard from the desk in reception.
- Unlock the storage room with your newly acquired keycard.
- Grab a trolley by the entrance and use it to transport your rations.
- Collect enough food and water based on your inventory capacity and head back to base.
Unique Details:
Retrieving ration is critical, as it determines your survival capacity during emergencies. Ensure you collect enough water and food, since you won’t be able to return soon.
Call-to-action:
Avoid being underprepared during unexpected surprises by making sure that you gather all necessary supplies every time you are dispatched for any task. Don’t miss important details!
Looks like the key to unlocking this door is hidden better than Waldo in a candy store.
Unlocking the Door
The Process of Gaining Entry
To unlock the door, proceed with diligence. Follow these four steps closely:
- Find the key in your inventory.
- Approach the door and stand directly in front of it.
- Use the key on the lock mechanism to gain entry.
- Pull the handle to open the door and step through
With these steps, you will successfully enter your desired location. It is vital to complete these steps in this order without altering any sequence.
As a point of importance, be mindful that locking mechanisms can vary from door to door, so ensure that you have acquired the appropriate key before proceeding. By following this guide, unlocking doors will become an effortless task within your skill set.
Once there was a woman who arrived at her house late at night only to find that she had misplaced her keys. She thought about breaking a window but decided against it and instead found an emergency spare key hidden nearby. This taught her always to have backup plans for accessing her home if ever required.
Get ready for the ultimate conclusion: whether you succeeded or not, at least you didn’t walk into a wall for an hour.
Conclusion
This walkthrough for Chapter 2 of Dead Island Riptide offers guidance on completing the level ‘There is a Way’. Step-by-step instructions help players complete objectives, including rescuing characters and fighting enemies. Players can explore the detailed environments, sift through collectibles, and gain valuable insights along the way.
Additionally, players will learn how to best utilize weapons, items and crafting materials in order to increase their chances to succeed. The walkthrough also covers any unique strategies or techniques necessary in order to overcome any challenges that arise.
Overall, this walkthrough provides an essential roadmap for players of Dead Island Riptide looking to navigate Chapter 2 effectively.
Interestingly, game developers often include walkthroughs in video games as part of enhancing gamers’ experience. This tactic allows players to get more out of each game by boosting confidence levels and supplementing their efforts with helpful tips found within the walkthroughs.